


These cute little make up bags are super easy to make when you have a serger! The serger trims, overcasts, and puts on your zipper! Just make sure to use a heavy enough fabric and to use a plastic zipper! To be honest I would not recommend doing this on a very cheap serger, as it will have to sew through the zipper, and some cheaper sergers cannot handle it.
What you’ll need for this project:
1. 8 inch plastic zipper
2. Piece of fabric (I used upholstery fabric) that is 7″ by 14″
3. Pins
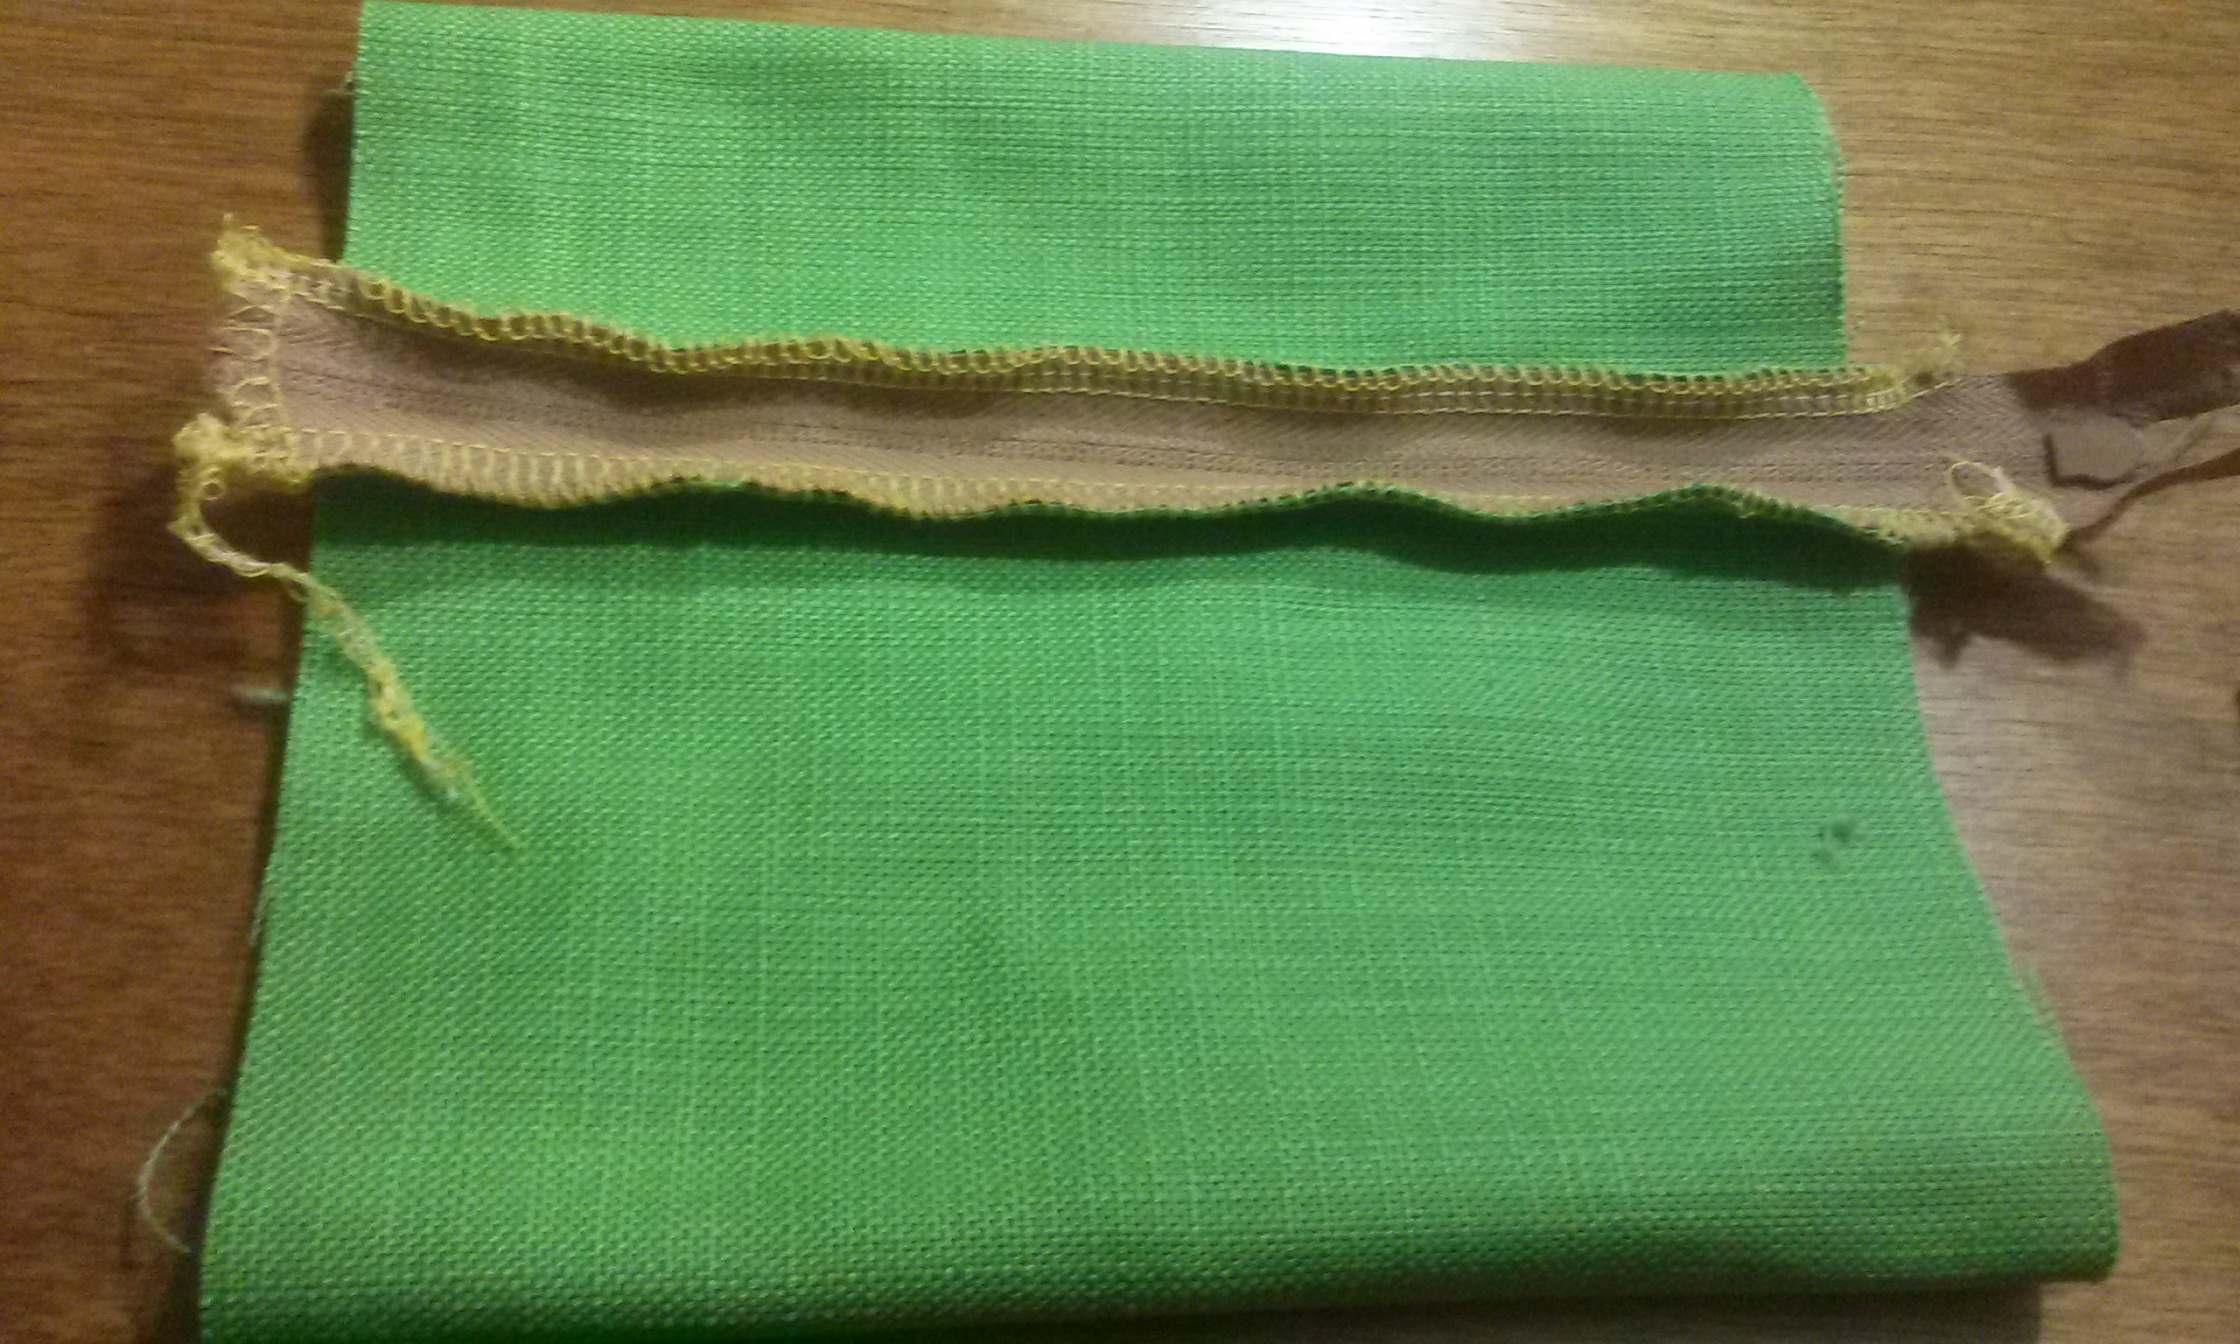
Follow the jump for the directions. 1. Cut and iron your piece of fabric. I had the darnedest time getting that one fold out. I ended up washing it afterward. Make sure your zipper fits on the edge of it. Put the right side of your zipper, facing the right side of your fabric.

2. Serge your zipper on. It works best with a zipper foot, but you can guide it through if you have to.

3. Fold your fabric in half, right sides together, and serger the zipper onto the other edge of the fabric.

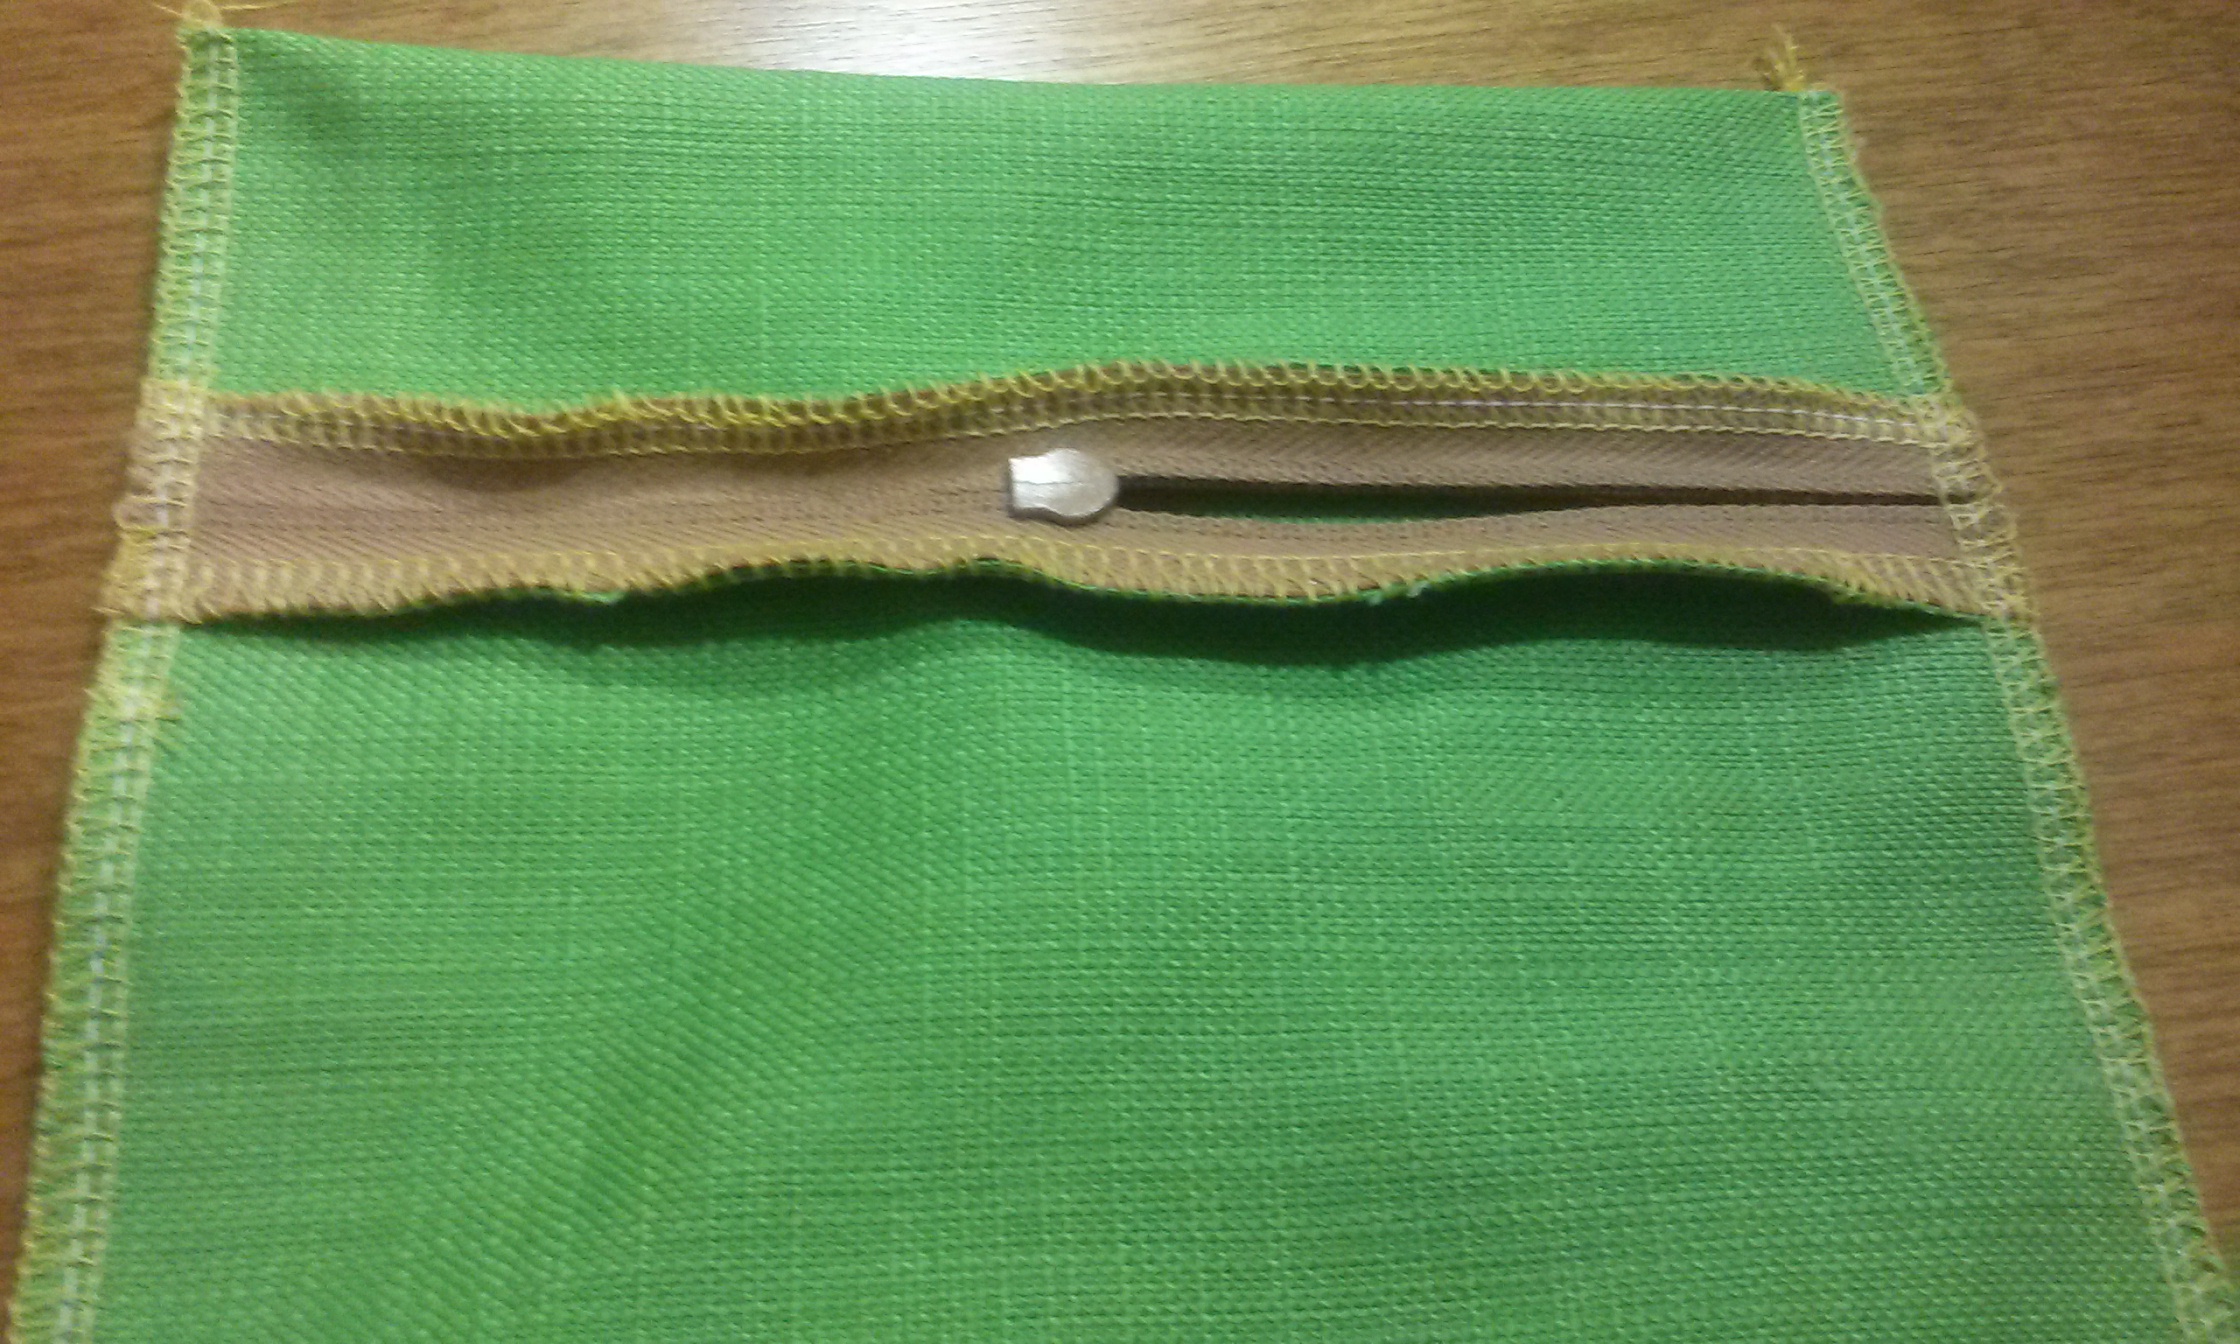
4. Adjust your fabric, so the zipper is approximately 3/4 of the way up on the bag.
5. Pin bag and serge down the side that does not have the zipper head on it. Be careful to pull your pins out as you go. You do not want them to hit the knife on your serger.

6. Open the zipper to half way on the bag, and make sure your open end it pinned in place. Then serge that side. Once again, make sure to remove your pins as you go.
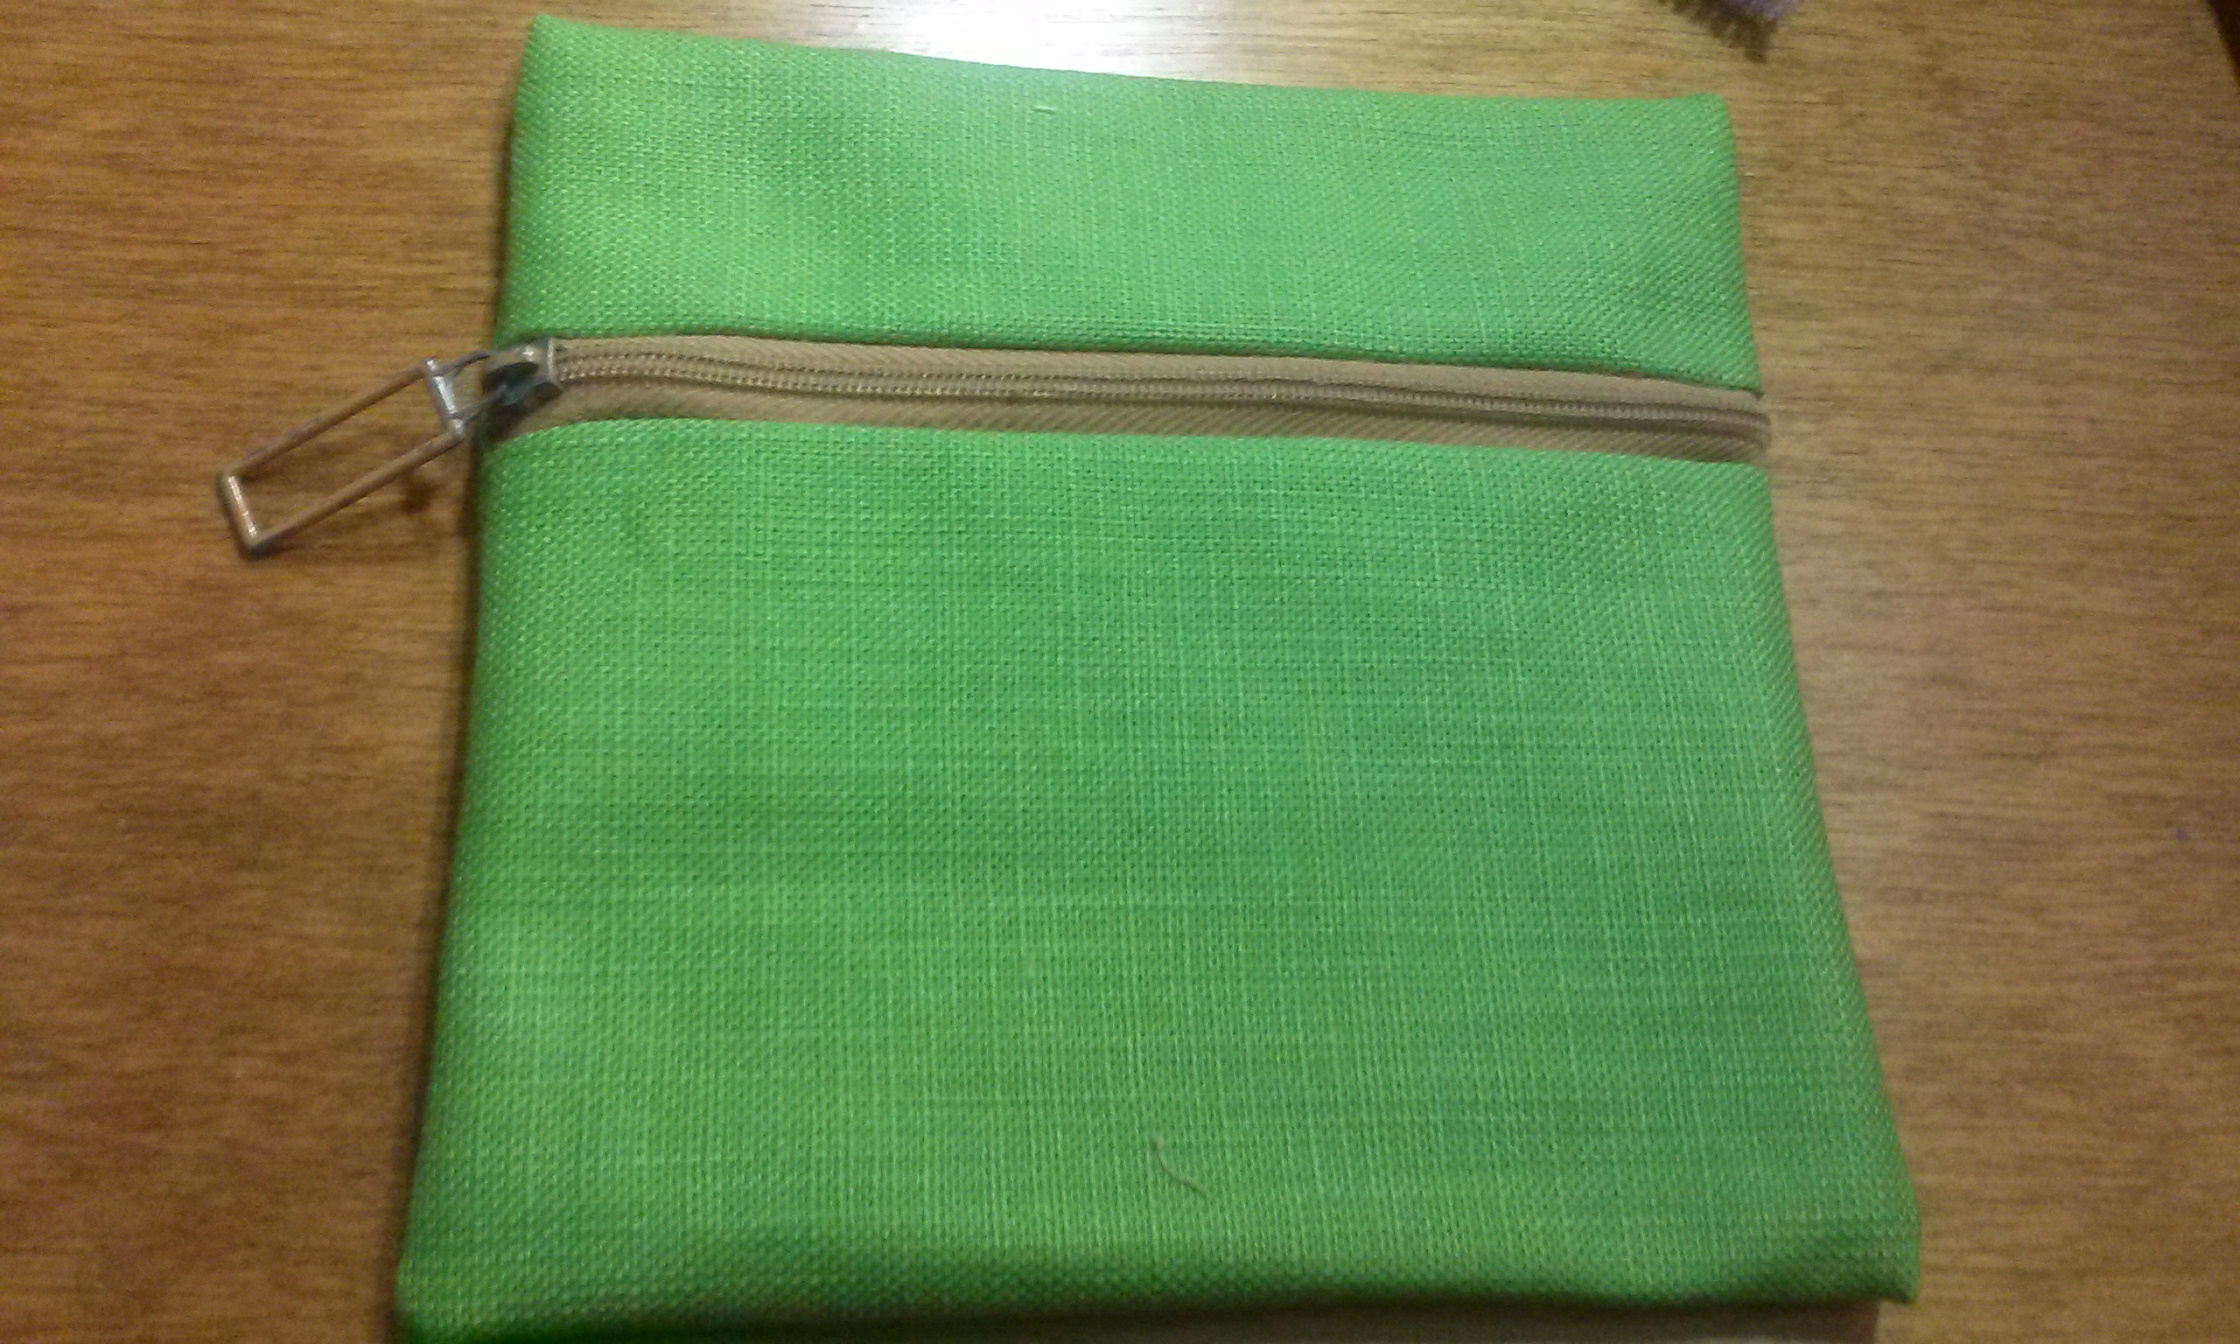
7. Flip bag inside out.

8. Show if off to your friends who don’t have a serger and tell them they all need to purchase one, because they are amazing!


The background on this page makes it impossible to see what is on the right side
Wonderful! Thanks for sharing. I can’ trait to try it.
*can’t wait. Dang auto-correct.