


I’ve gotten such an amazing response from posting the latest Chenille Throw Pillows I’ve been working on, I decided I should post a tutorial! So here it is! I hope everyone enjoys it!
Step 1: Cut an 18″ by 18″ piece for your background on the Chenille Pillow. I use two pieces just to add some extra durability to it.

Step 2: We add 2 more layers of fabric. I’m using flannel for this part because it chenilles very nicely!

Step 3: I’m adding a few 4.5″ by 4.5″ squares to add a little bit of fun to this pillow!

Step 4: Put the final layer of fabric on top.

Step 5: Draw on your sew lines 5/8th of an inch apart. This part will take a while.
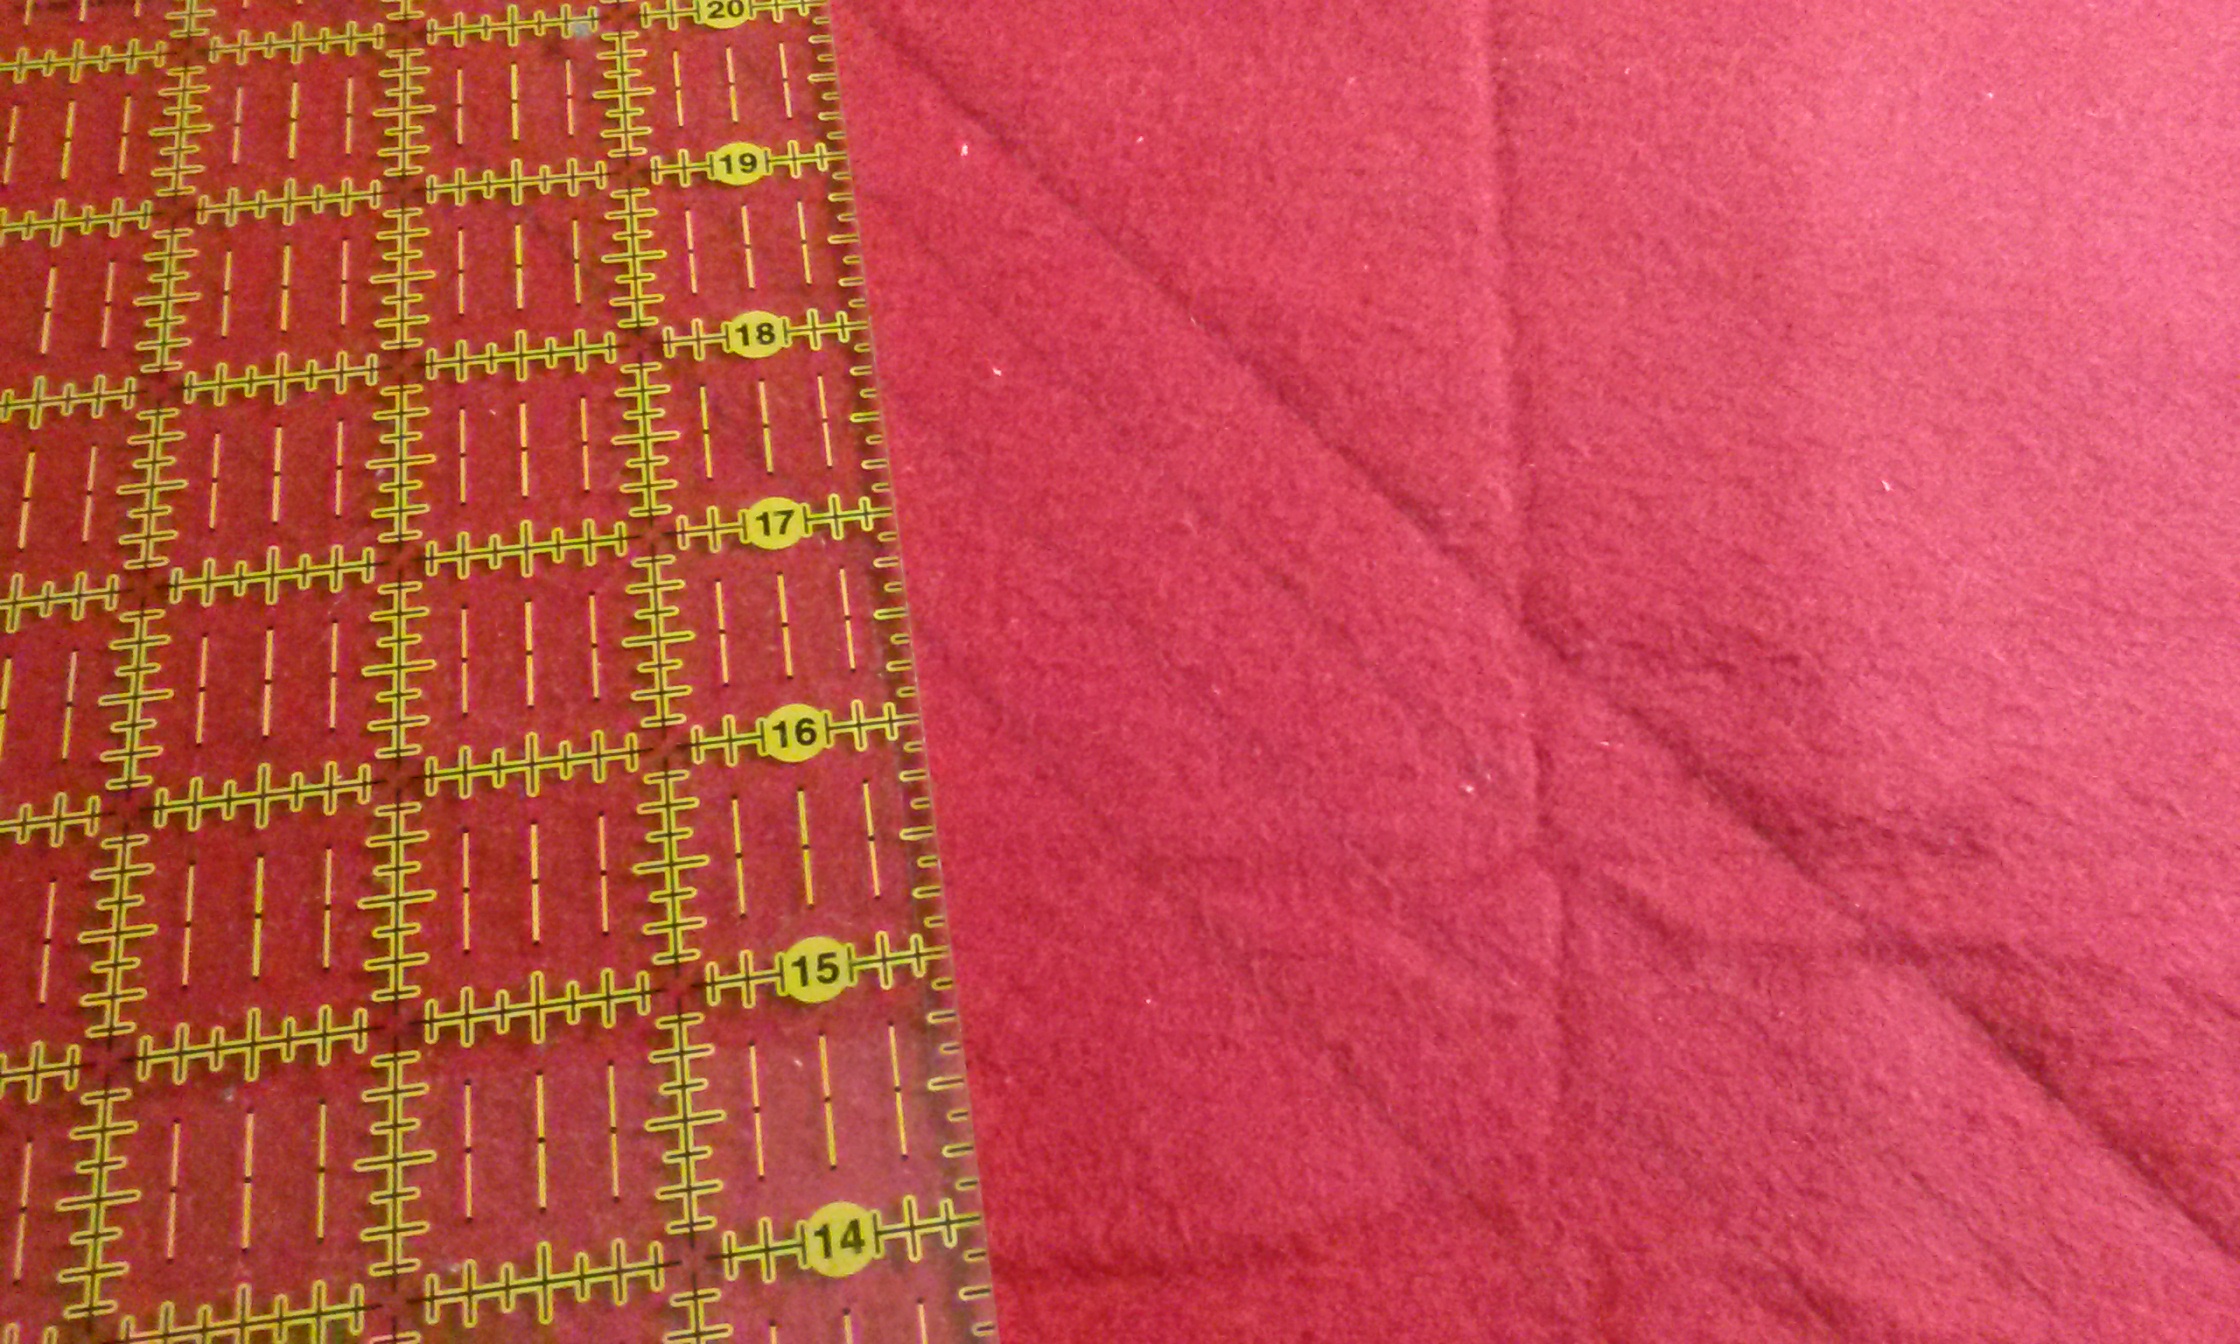
Step 6: Sew on all of your markings. (I sew over it twice just to really secure the chenille in place.) I use a walking foot, so the fabric won’t pull as much since there are 5 layers.

Step 7: Square off your pillow since some of the layers might have moved a bit.

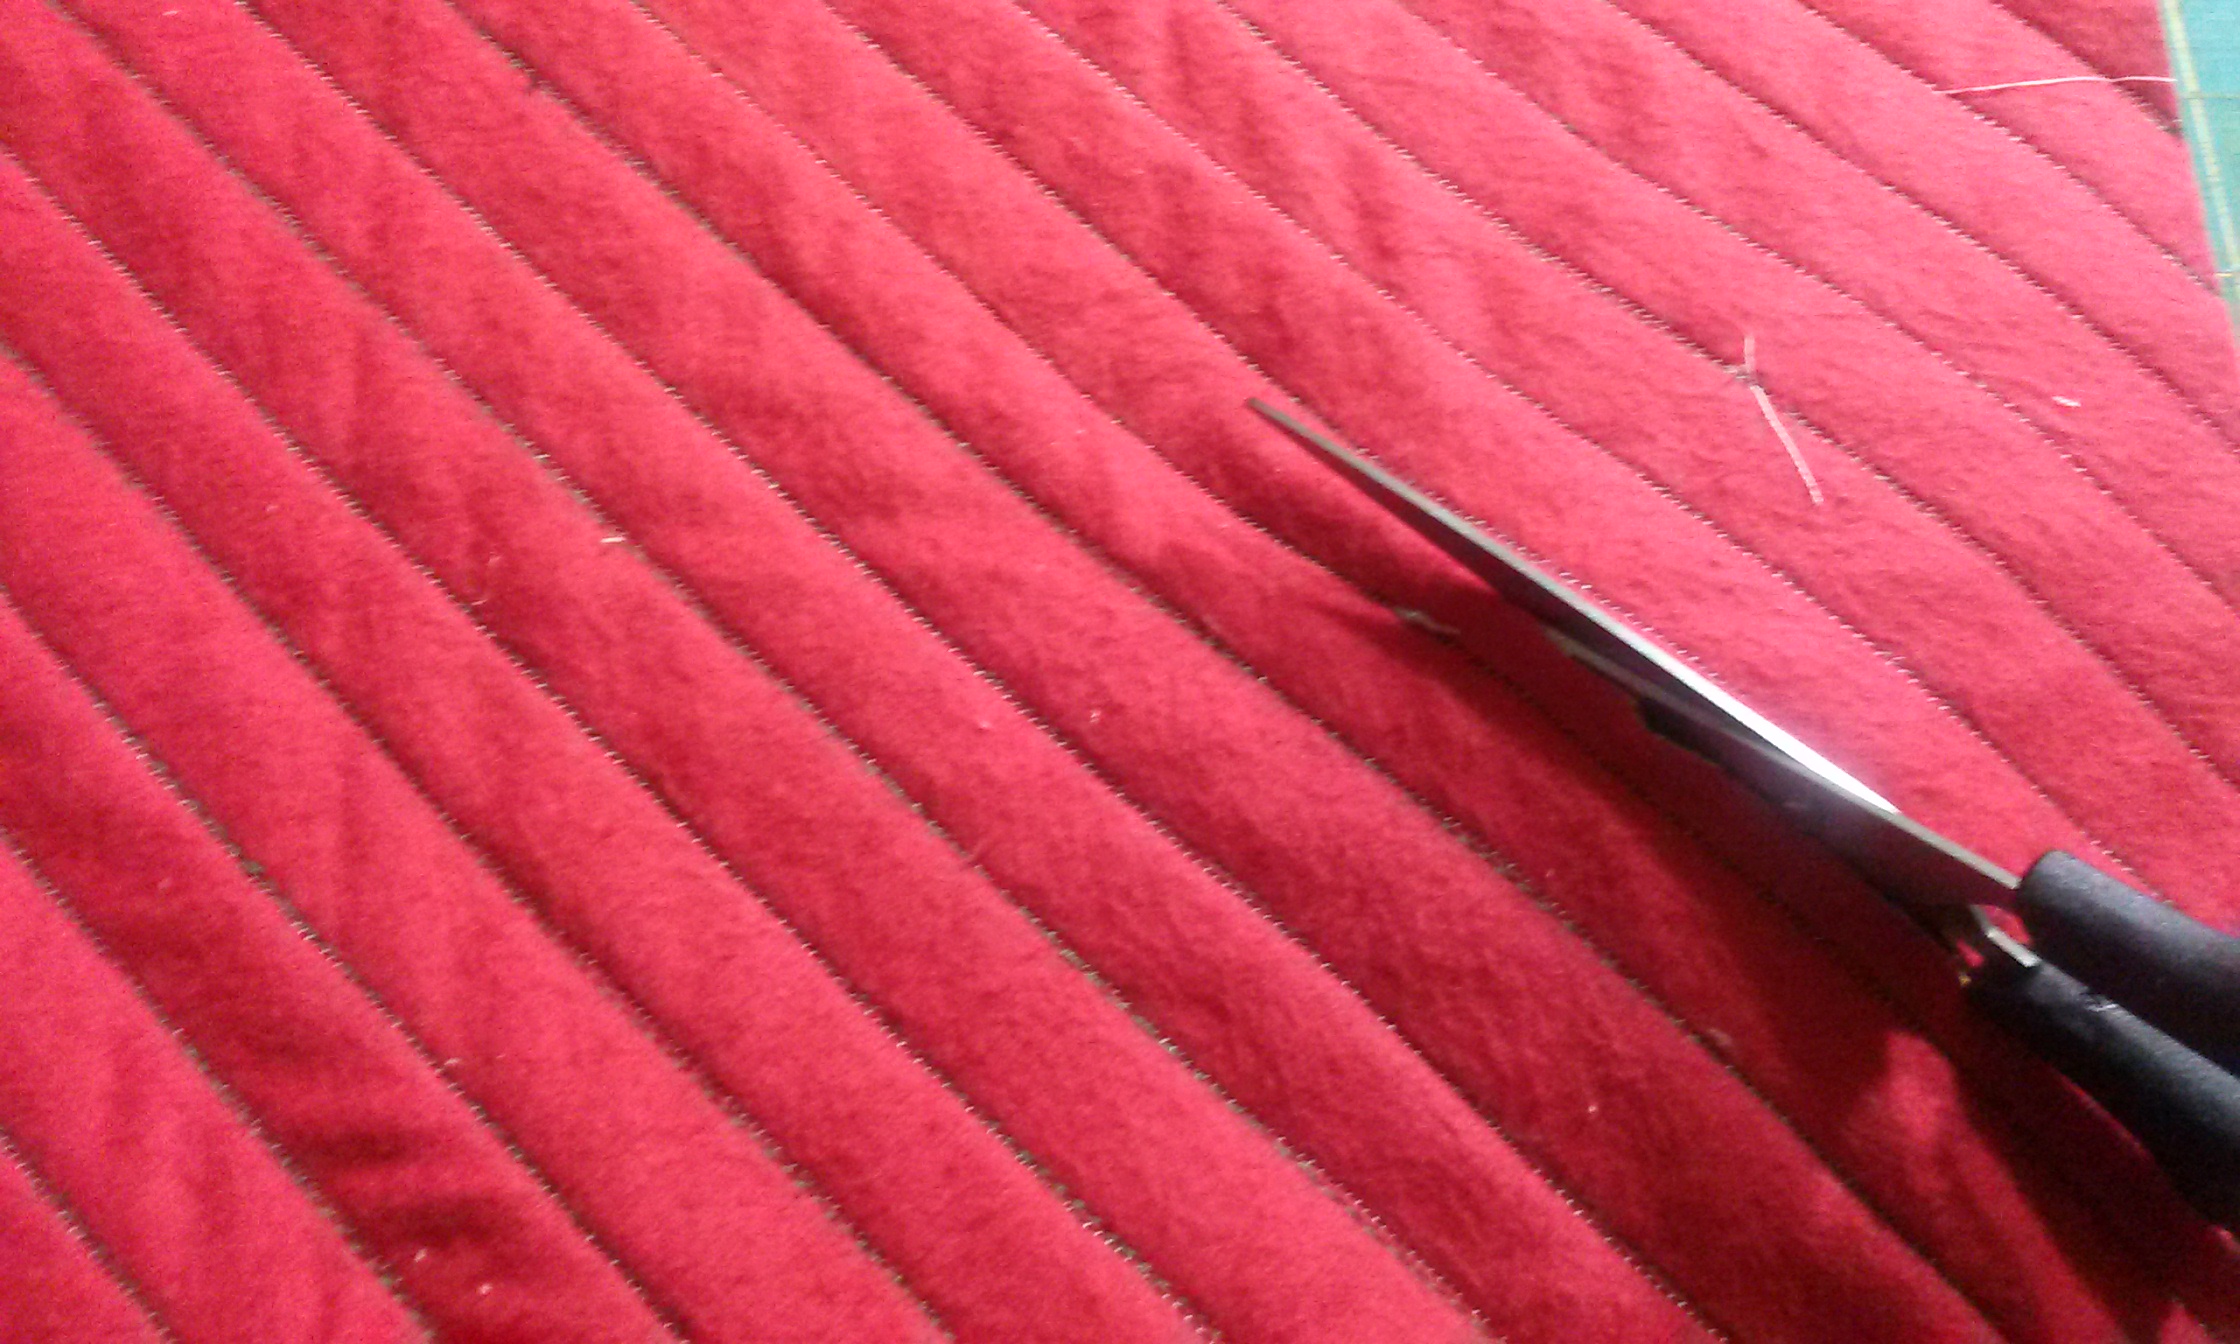
Step 8: Cut your top 3 layers in-between all of the cut lines. (If you have a chenille cutter it makes this part go by so fast!) (I don’t because I am cheap.)
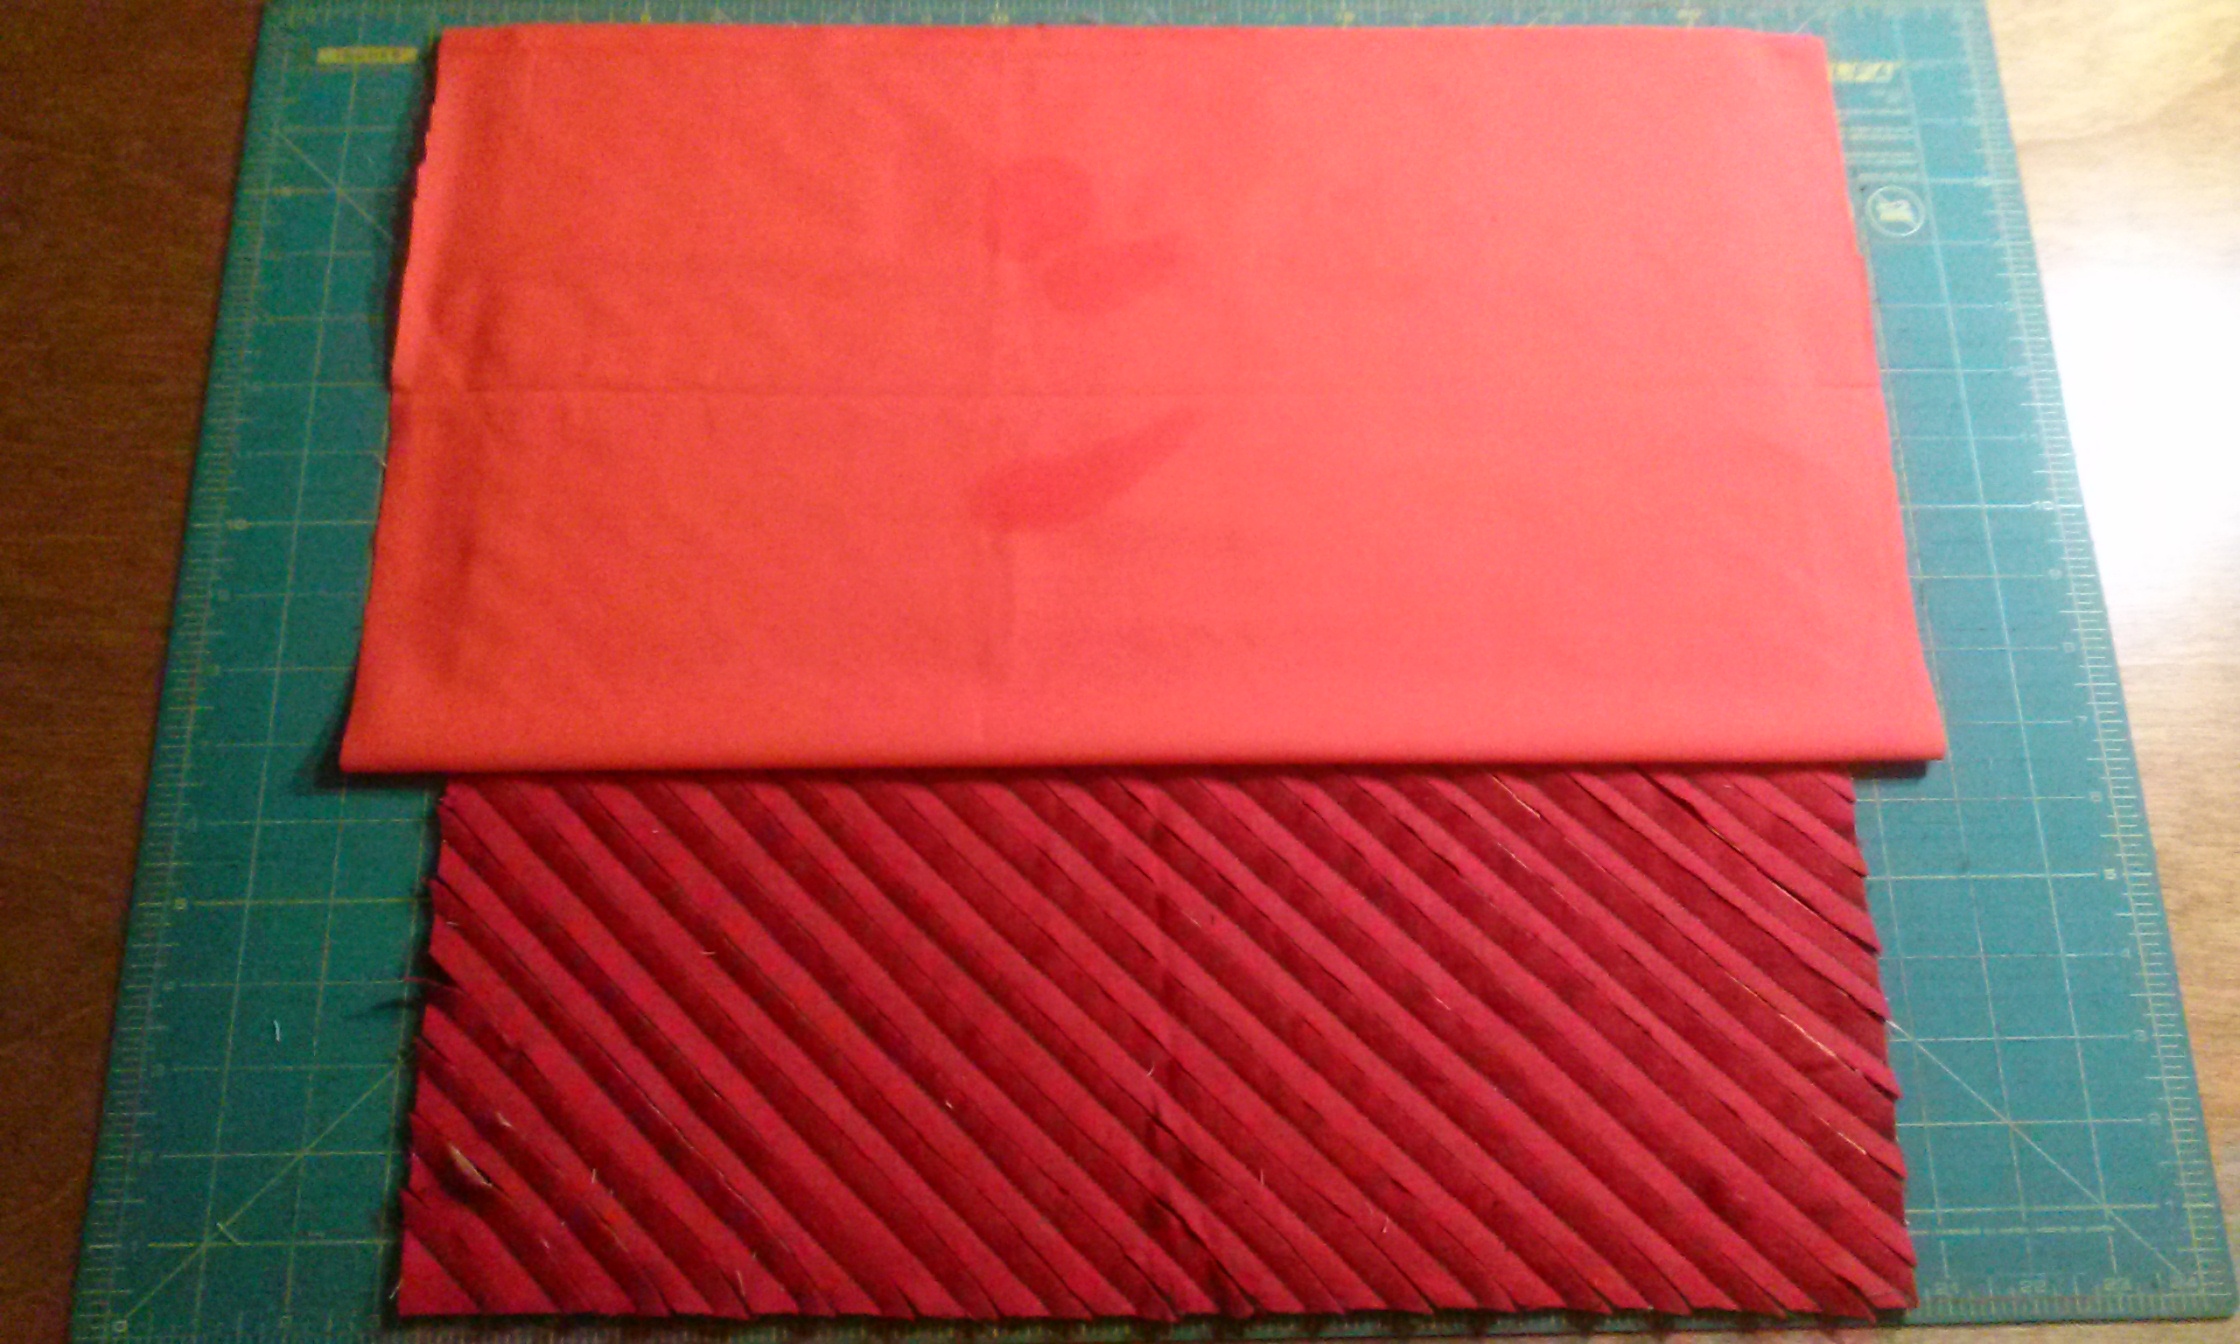
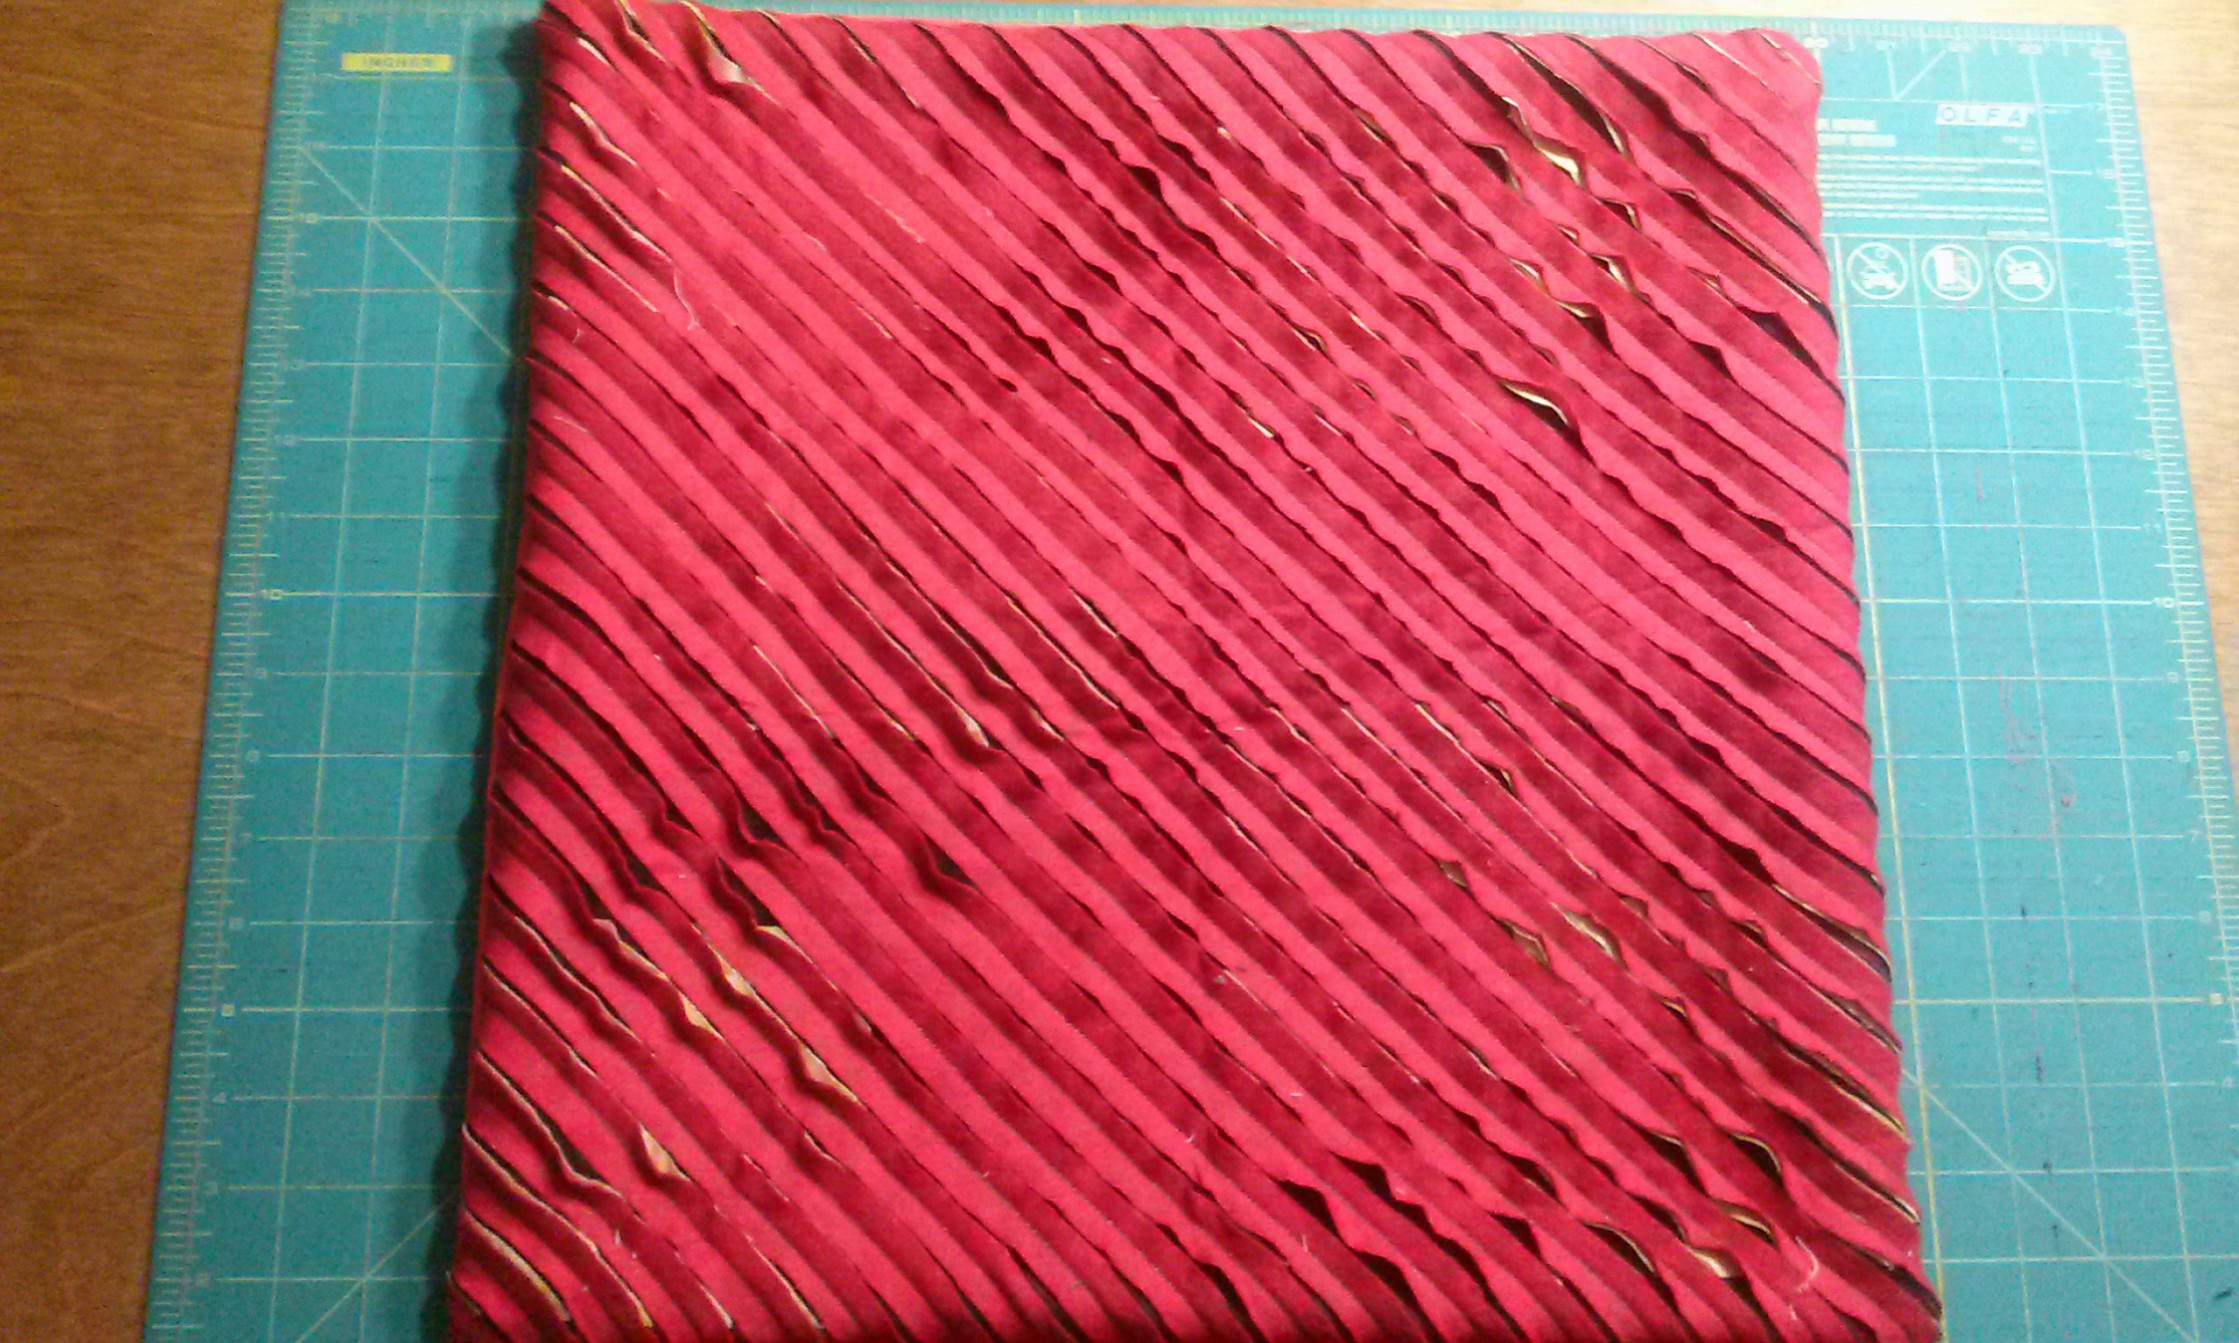
Step 9: Marvel at how good it looks so far!

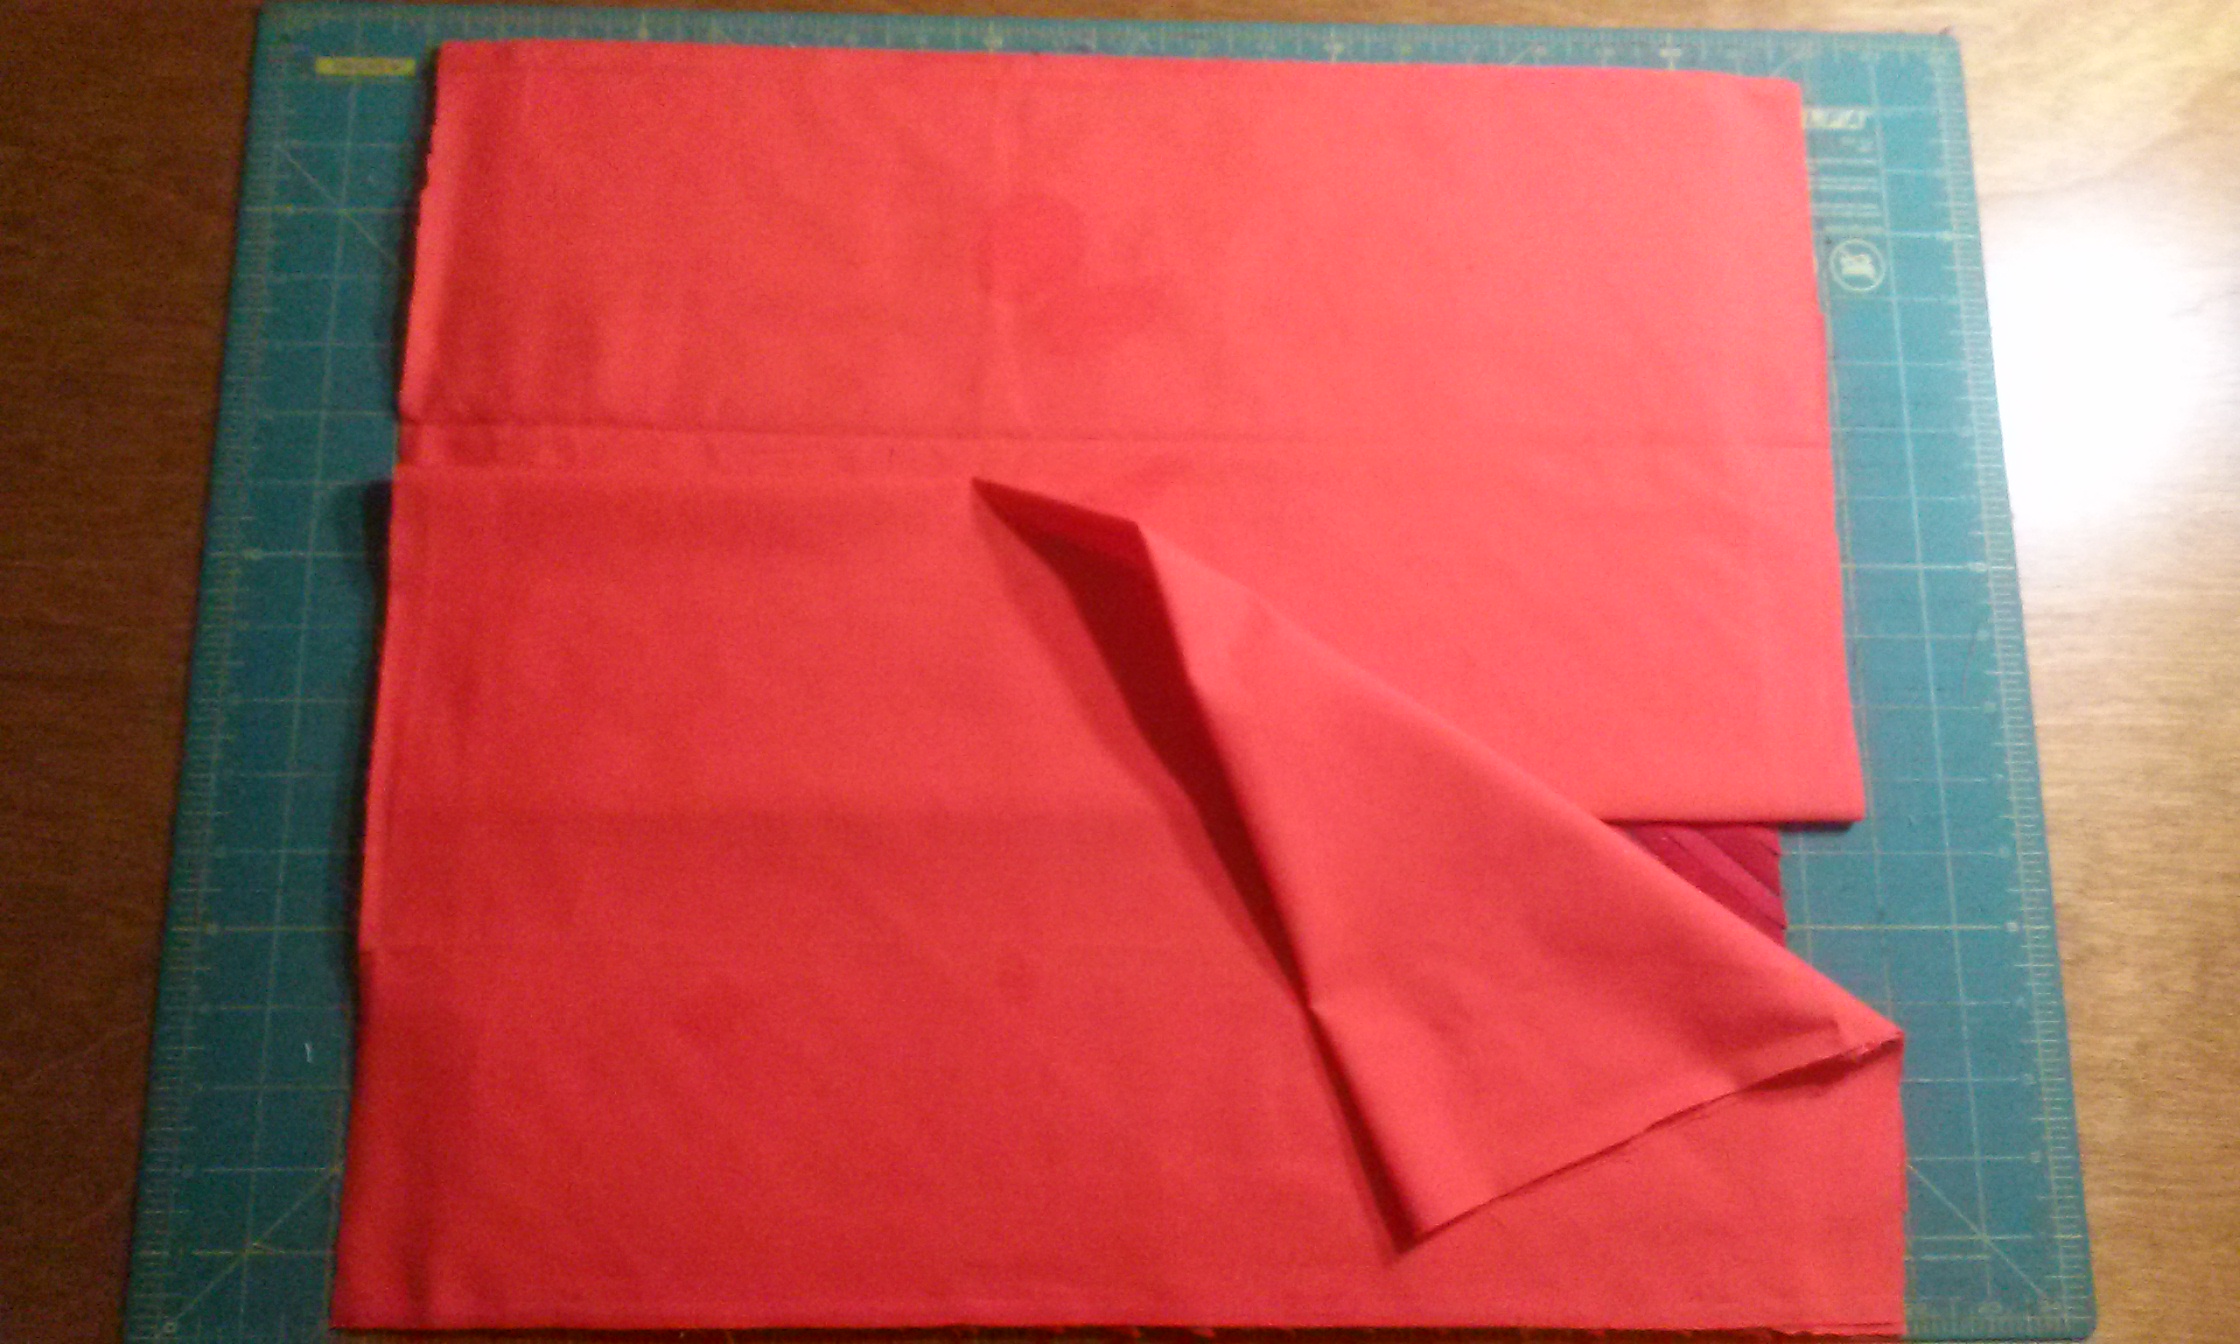
Step 10: Take whatever fabric you want to use for you backing and cut 2 pieces roughly 18″ by 20″. I use fat quarters and fold them in half. Line up the edge with the top.
Step 11: Put another piece on the bottom half.
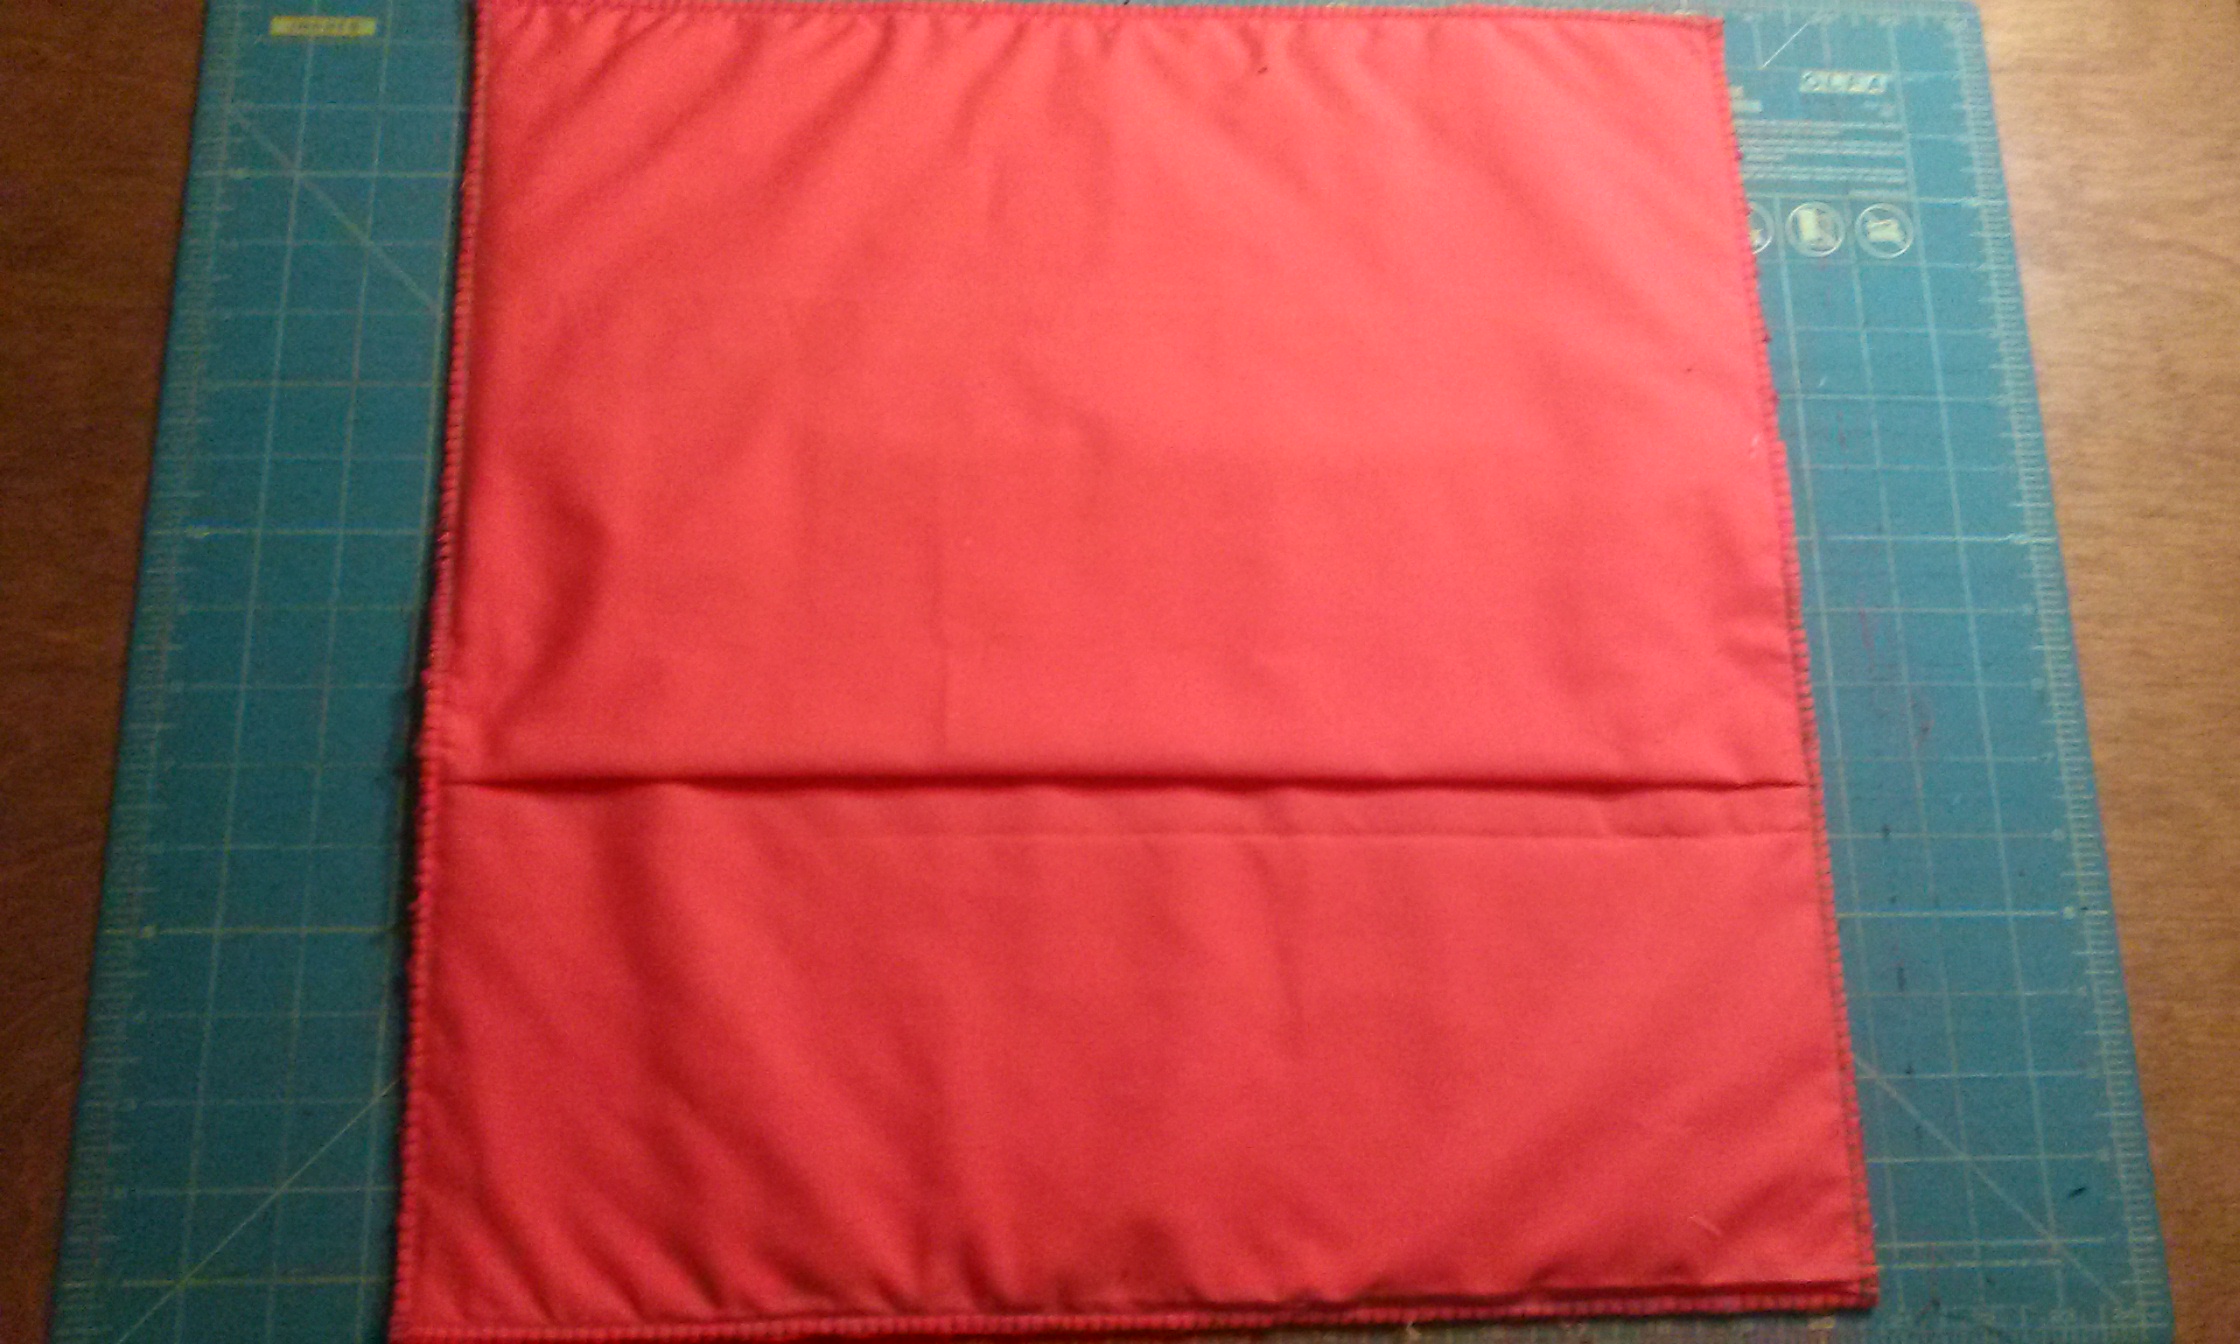
Step 12: Trim the excess off, and use an overcast foot with a blanket stitch to secure the entire pillow on the edge.
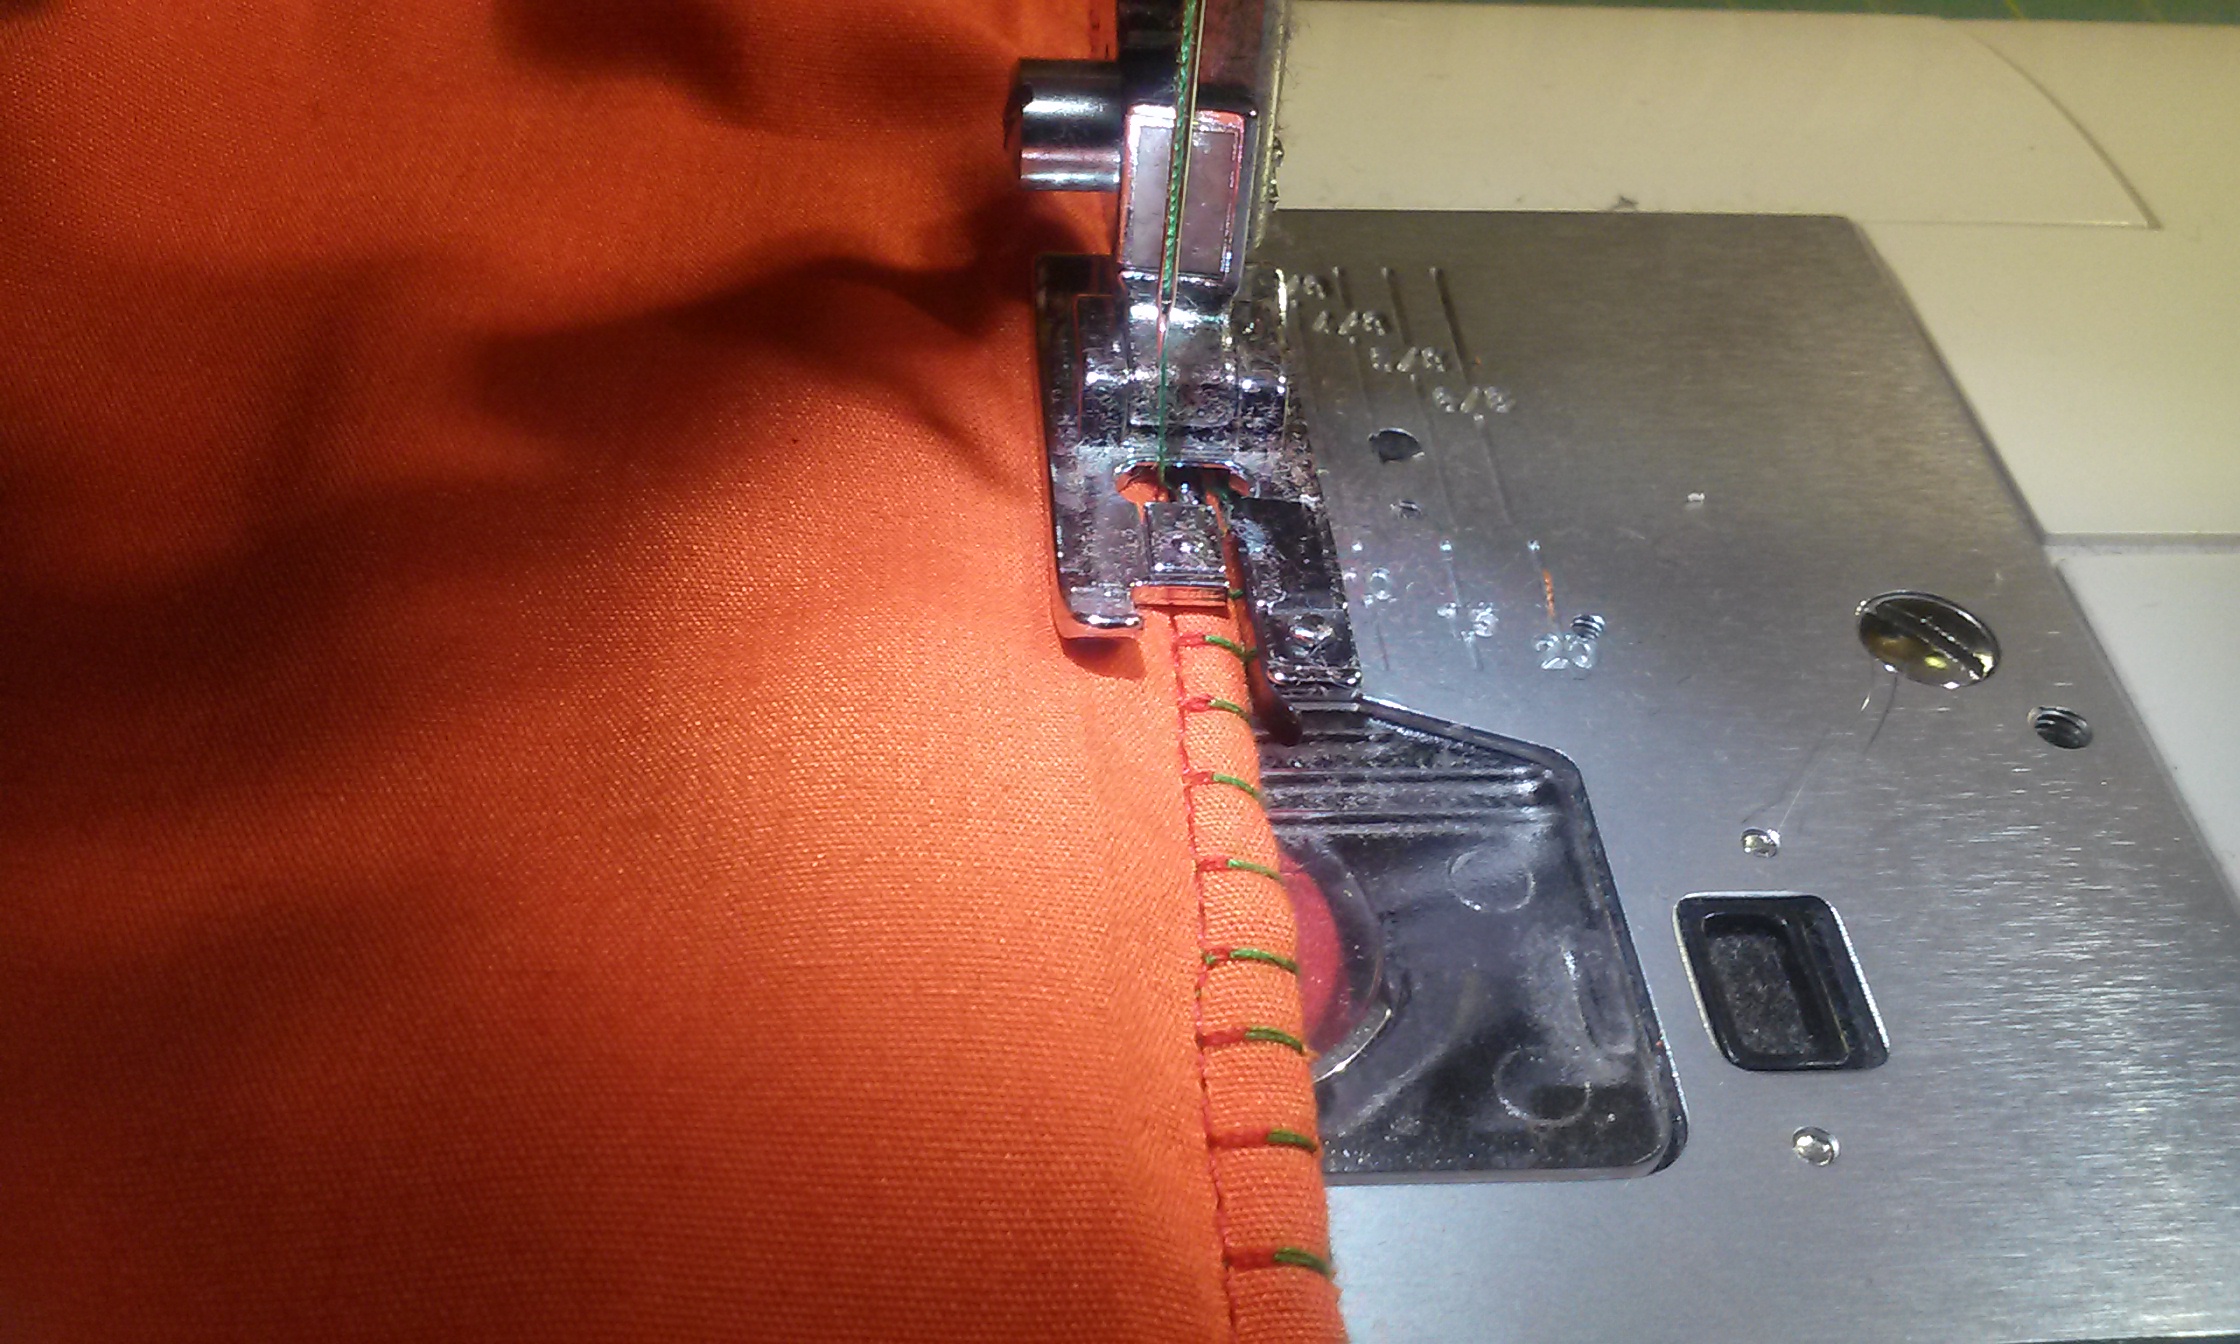
Step 13: Shiver with anticipation because we are done with the sewing part!
Step 14: Flip it inside out!
Step 15: Spray it with some water and use a hard bristled brush to agitate the fibers!

Step 16: You have a gorgeous chenille pillow!
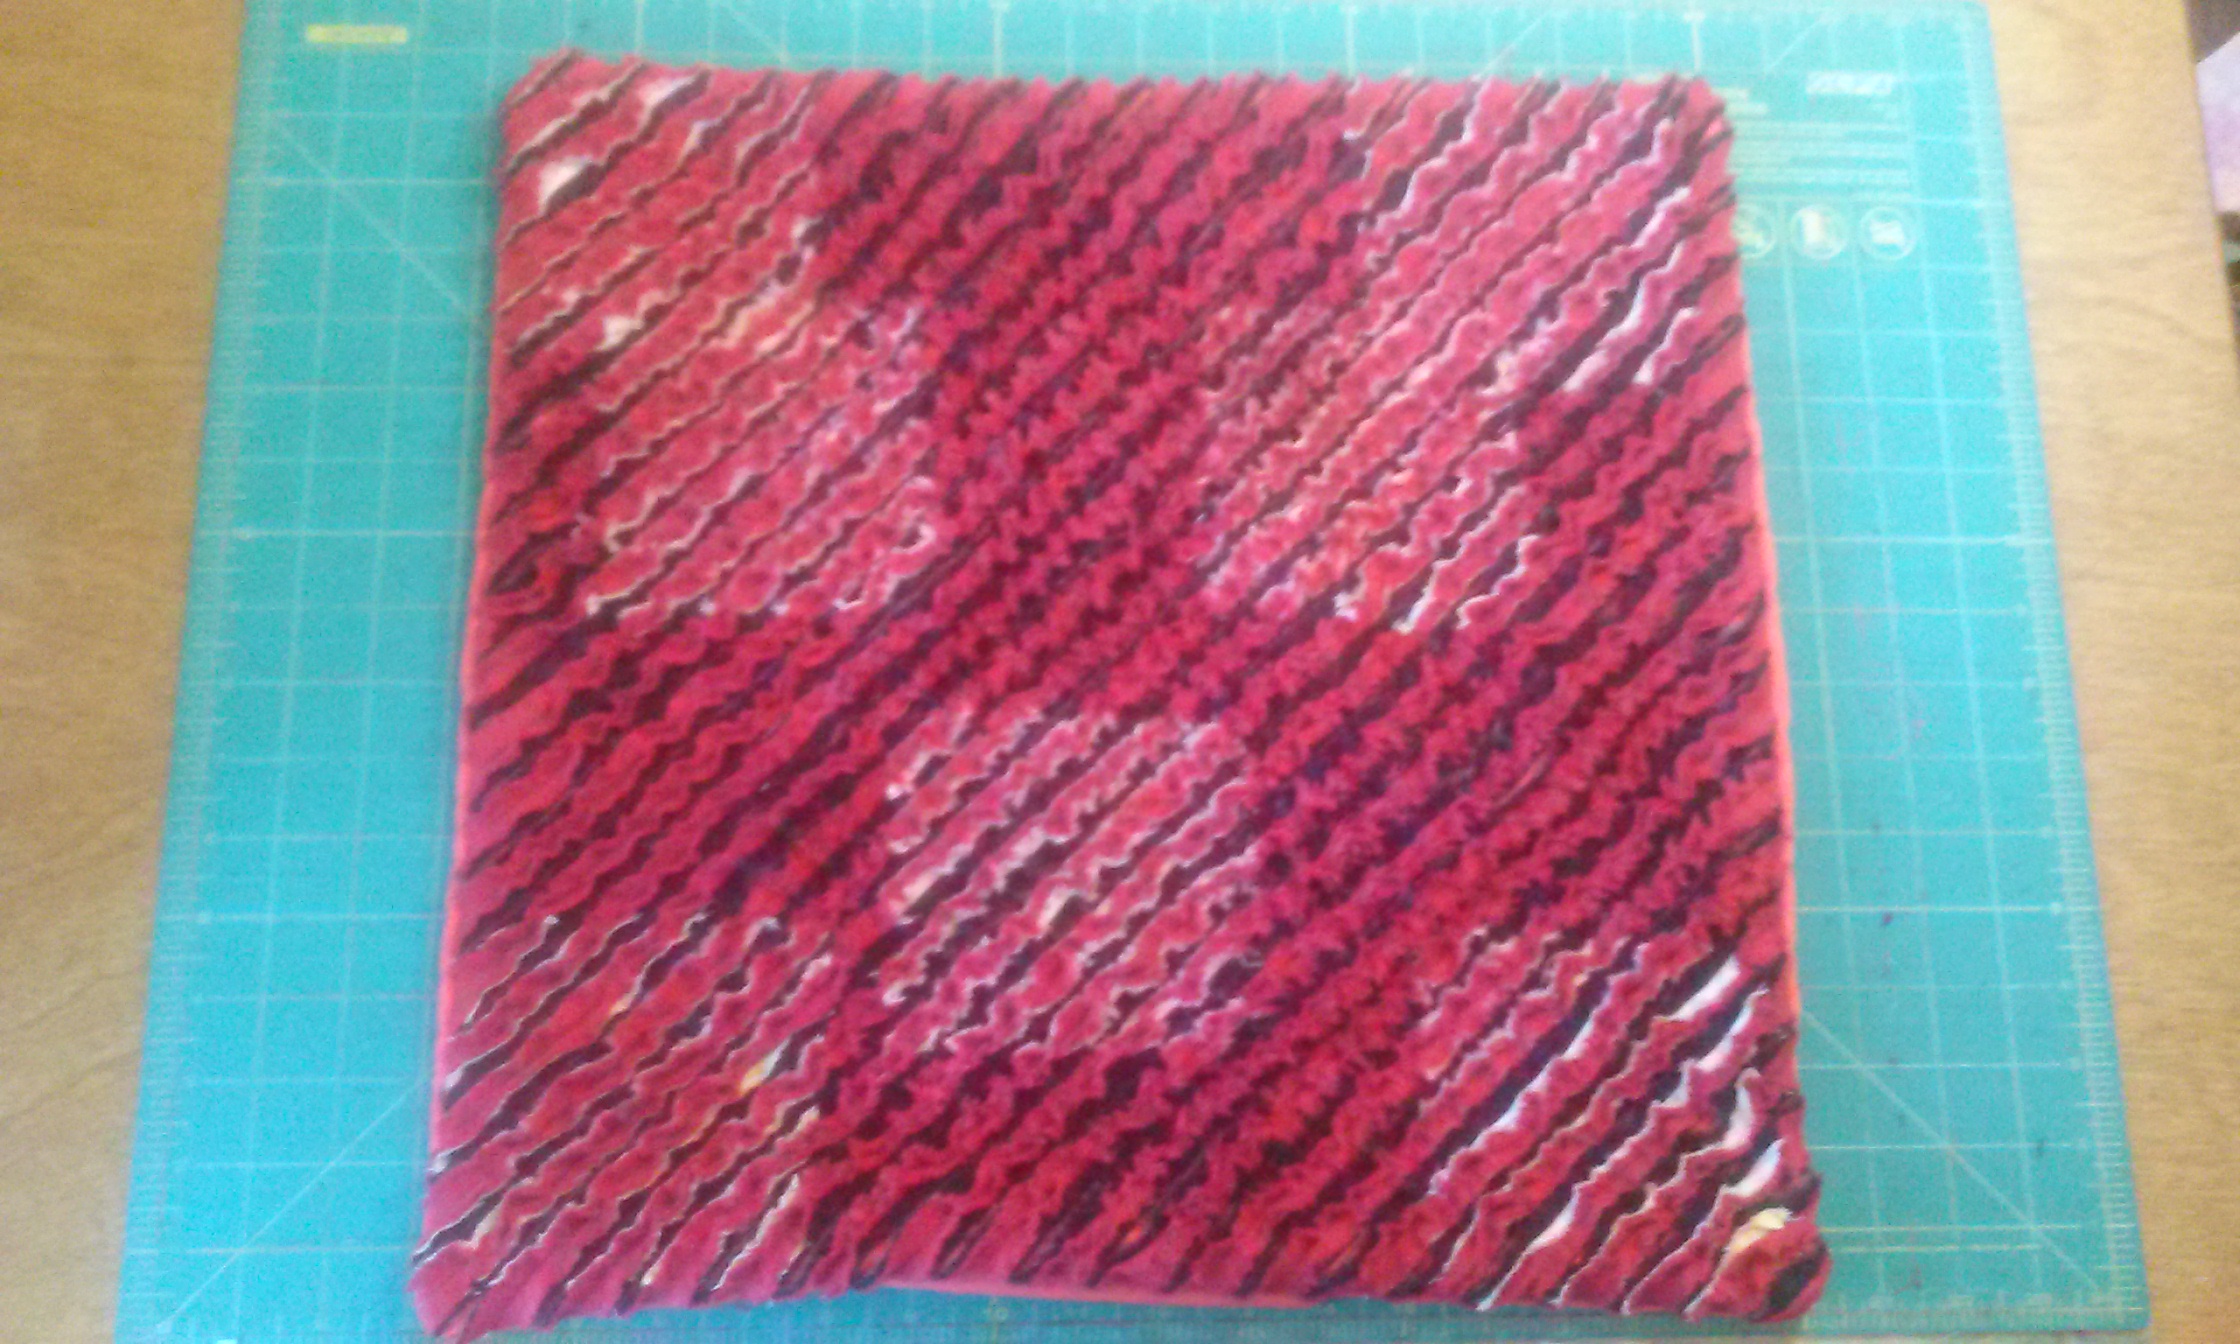
The more you wash it, the better the fibers will separate and the better it will look!


The is some instructions missing on this tutorial. When you draw the lines what degree are they drawn? That is very important information that will make it work or not?
They are drawn diagonally across the fabric.